Removing and Disabling Signatures in OWA for M365
When using Black Pearl Mail for centralised branding, you may wish to switch off any signatures setup outside of Black Pearl Mail to avoid double branding. This document explains how you can remove the signature set up in the Outlook Web Interface for Office 365 for single users, a group of users, or all users. We will also be explaining how to disable signatures in OWA, in the event that you wish to prevent users from adding signatures in OWA in the future.
To carry out these steps you will require the following:
- A global administrator username and password for your M365 tenant
- A device with Microsoft Powershell installed
Connecting to Powershell
Before you carry out any of the below steps, you will need to connect to your Exchange Online environment using Powershell. To do this, please review this article from Microsoft.
Removing Signatures
Removing a signature will delete any signatures a user has created in OWA.
Removing Signatures for a Single User
To remove a signature for a single user, run the below Powershell command:
- Set-MailboxMessageConfiguration -identity "enter email address of user here" -SignatureHtml "" -SignatureText "" -SignatureTextOnMobile ""
Removing Signatures for a Group of Users
In order to remove signatures for a group of users, you must first create a distribution group from your M365 administrator tenant. To do this, please review this article from Microsoft.
Once the distribution group has been created and all the users who you would like to remove the signatures for have been added to the group, run the below Powershell commands:
- $groupmembers = Get-DistributionGroupMember "distribution group name" -ResultSize unlimited;
- $groupmembers | foreach { Set-MailboxMessageConfiguration -identity $_.alias -SignatureHtml "" -SignatureText "" -SignatureTextOnMobile ""}
Removing Signatures for All of Users
To remove signatures for all users, run the below Powershell commands:
- $mailboxes = Get-Mailbox -ResultSize unlimited;
- $mailboxes | foreach { Set-MailboxMessageConfiguration -identity $_.alias -SignatureHtml "" -SignatureText "" -SignatureTextOnMobile ""}
Disabling Signatures
Along with removing signatures, you can also disable the ability for users to create them. Please note that signatures will still be available for users that have already set them up unless you have run the commands to remove them.
Disabling signatures can be done through the Exchange Admin Center or via Powershell.
Disabling Signatures Through the Exchange Admin Centre
1. Go to https://outlook.office365.com/ecp/ and log in with your M365 administrator credentials.
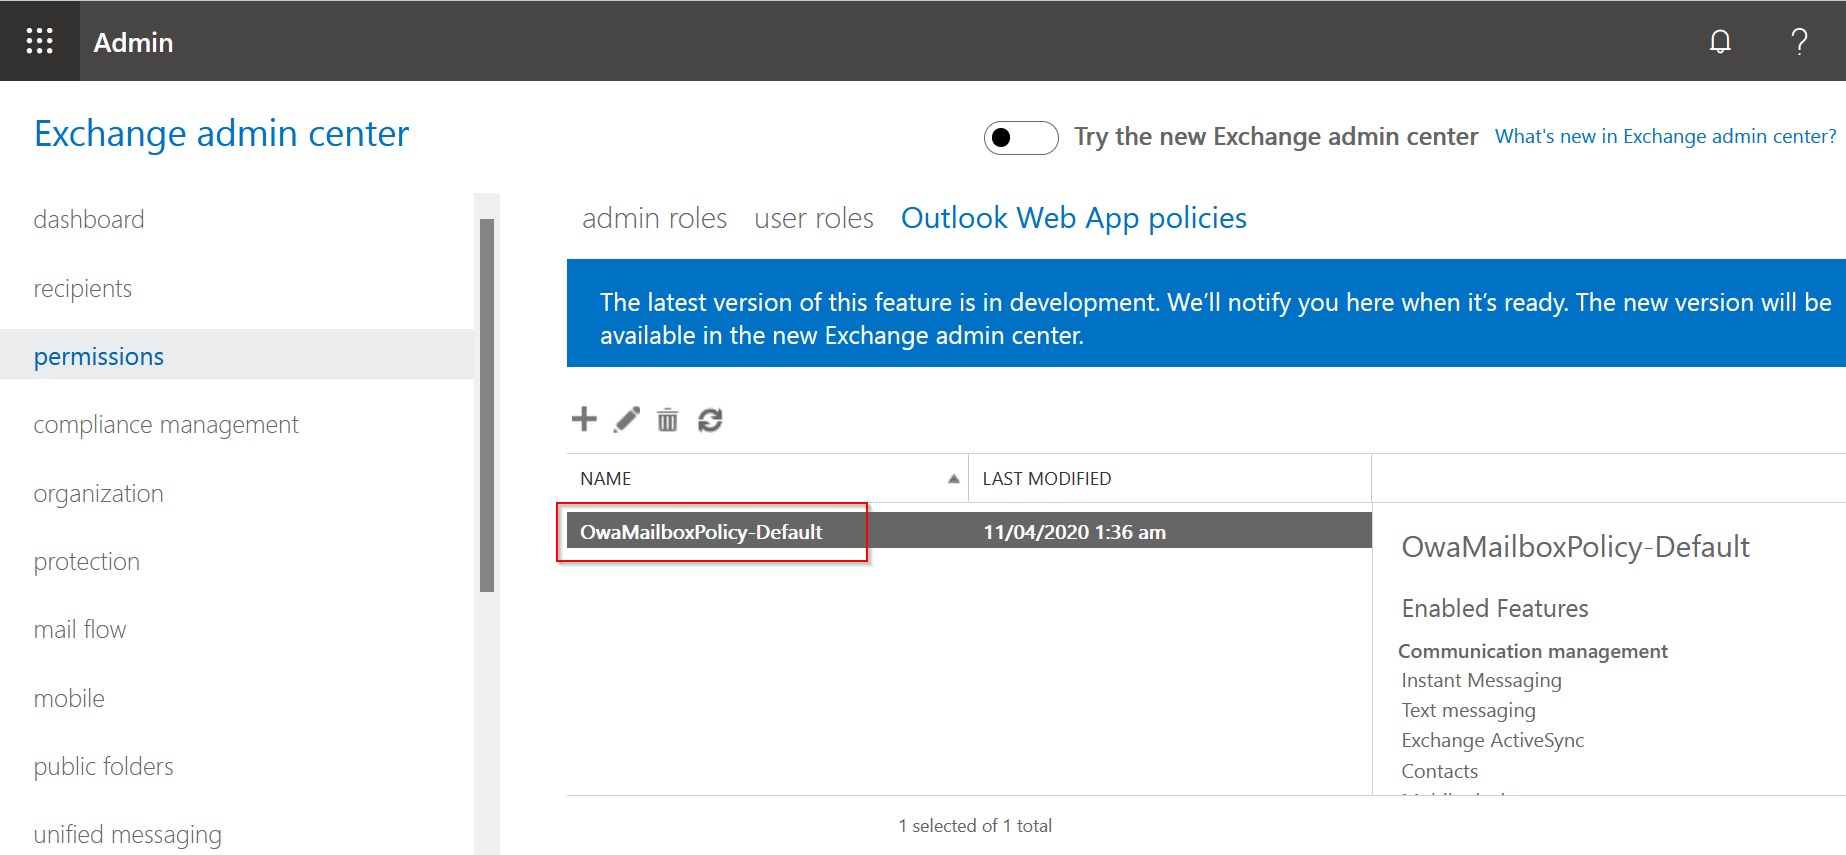
2. Go to Permissions > Outlook Web App policies.
3. Double click the relevant OWA policy.

4. Select Features > More options.
5. Untick Email signature and click Save.
Disabling Signatures Through Powershell
To disable signature creation in Powershell, connect to your Exchange Online environment and run the below command:
- Set-OwaMailboxPolicy -Identity "enter OWA policy name here" -SignaturesEnabled $false
If you require any assistance carrying out the steps in this document, please contact support@blackpearlmail.com.
Related Articles
Removing a User
First, login to the Black Pearl Mail App: Logging in Once logged in, navigate to the “People” icon in the top navigation bar You will now see a list of all your users. To remove a user, click on the “Remove” button to the far right of their name A ...Outlook roaming signatures vs Black Pearl Mail
What is Outlook roaming signatures? Outlook roaming signatures allows you to create a signature in outlook and it can be stored in your outlook system (in the cloud) as opposed to on your specific desktop device. This means when you create a ...Turning on/off all signatures
First, login to the Black Pearl Mail App: Logging in Once logged in, navigate to the “People” icon in the top navigation bar On the right-hand side sub-navigation, you will notice a slider with the text “Turn on all signatures”. If you press this ...Turning on/off all reply signatures
First, login to the Black Pearl Mail App: Logging in Once logged in, navigate to the “People” icon in the top navigation bar On the right-hand side sub-navigation, you will notice a slider with the text “Turn on all reply signatures”. If you press ...Adding, Removing, and Editing Administrators
To add, remove, and edit Administrators in your account click on the "Cog" wheel in the upper right-hand corner of the Administrator Console then click on Invite Admins. In the pop window, you can add new Admins by giving them a Name and entering ...