Specify Branding for Internal Emails for M365
What will you need to do?
You may wish to apply a specific template to all emails that are sent internally. This documentation will guide you through the steps required to set up in the Black Pearl Mail application and your M365 tenant.

You will require global admin permissions to your M365 tenant.
Step 1 - Setup the Group and Tag in Black Pearl Mail Admin App
1. Go to admin.blackpearlmail.com and sign in with your Black Pearl Mail admin credentials.
2. Click on the Groups tab.
3. Click on Add New Group.
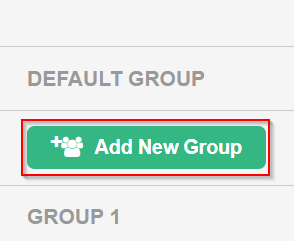
4. Call the group Internal and assign the templates you would like to apply to internal emails, then click Save.

If you have created the template yet, you can do this at a later stage.
6. Select the Internal group from the left hand menu, and enter the word INTERNAL in the box next to Only on emails with the following [tag] in the subject line and check the radio button.
7. Click Add Users.
8. Select all the users you would like this to apply to and click Next.
9. Click Save.
Step 2 - Create a New M365 Rule to Apply a Tag to Internal Emails
1. Go to https://outlook.office365.com/ecp/ and sign in with you M365 administrator account.
2. Click on Mail Flow > Rules > Add > Create a new rule.
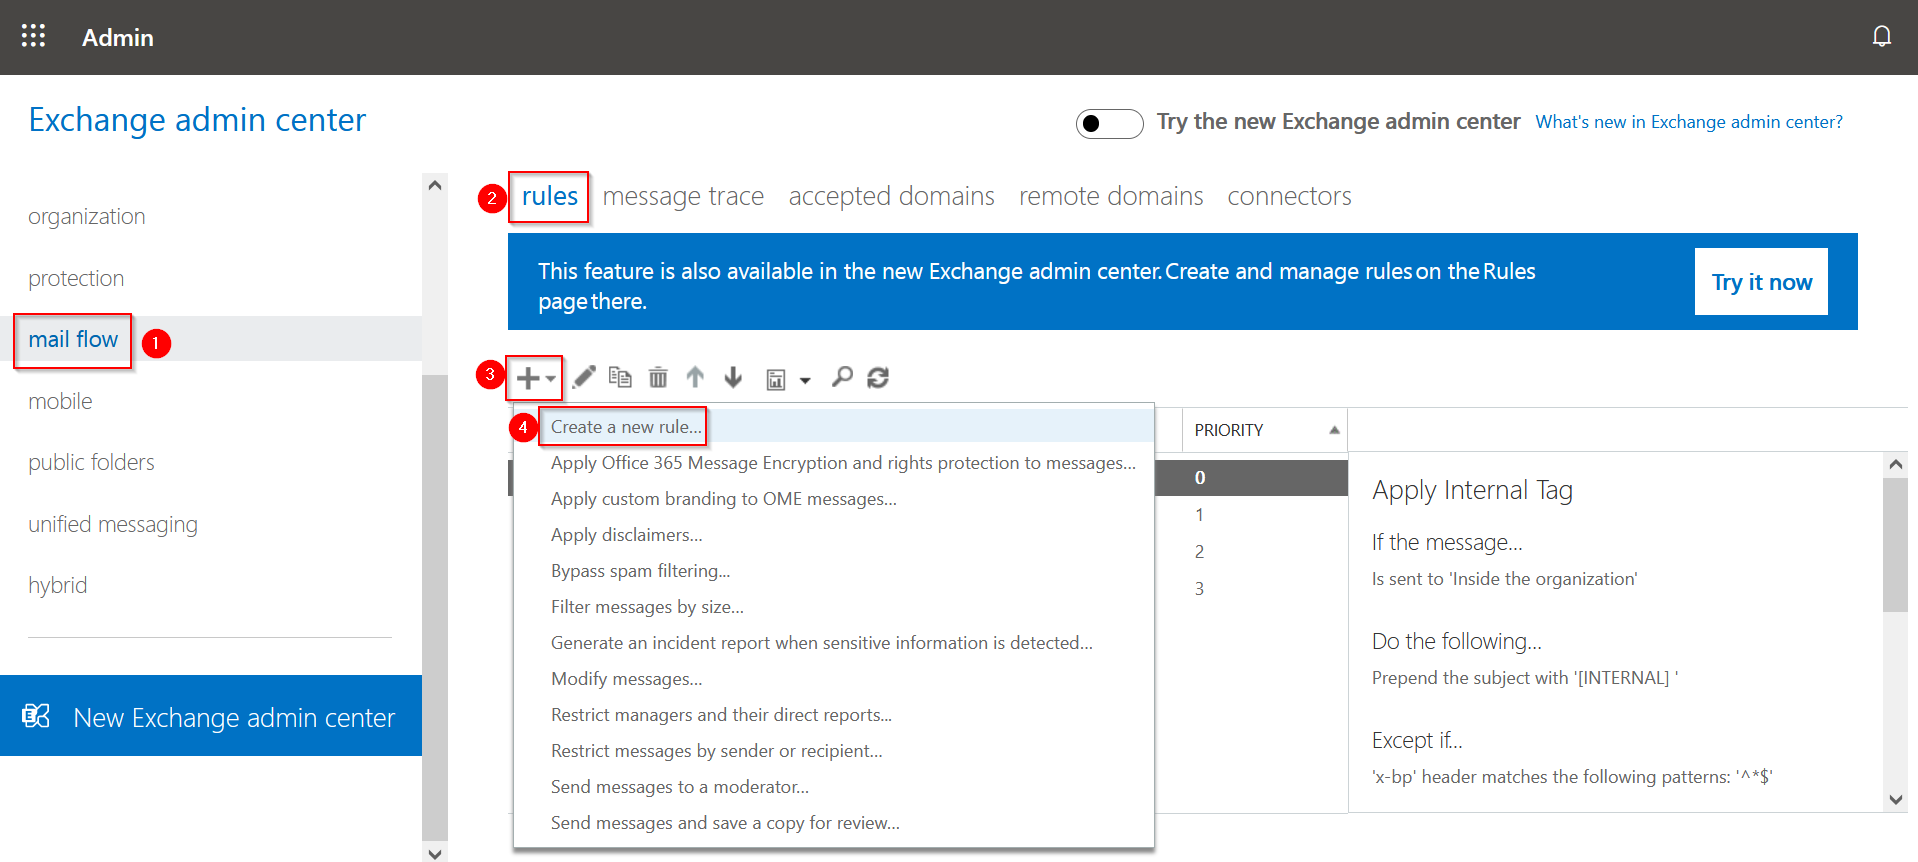
3. Scroll down to the bottom of the page and select More options.
4. In the Name field, enter Apply Internal Tag
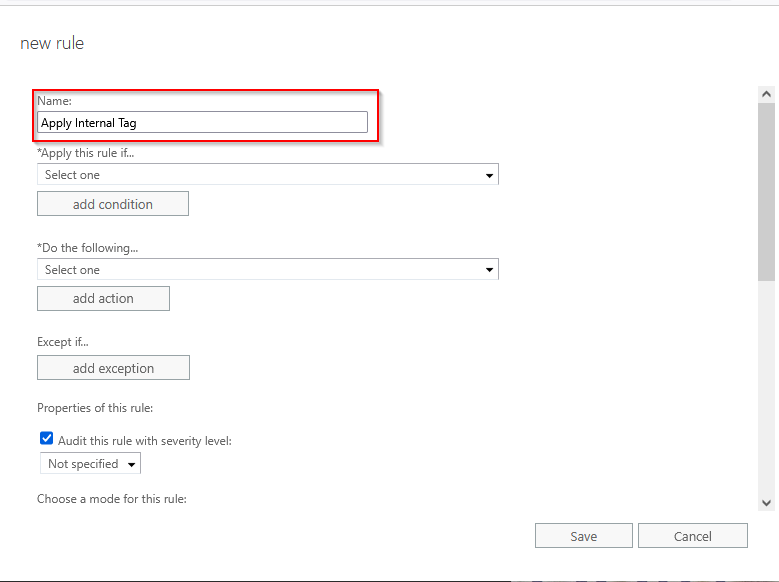
5. Click on the drop down under Apply this rule if... and select The recipient is located...
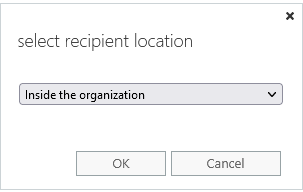
6. Select Inside the organization and click OK
7. Select the dropdown under Do the Following... then select Prepend the subject of the message...
8. In the specify subject prefix box enter [INTERNAL]

It is important to ensure that you place a space at the end of [INTERNAL]
9. Click OK
10. Click on the drop down under Except if and select A message header... and then select matches these text patterns
11. Click on the words Enter text...
12. In the specify header name box, enter x-bp and click OK
13. Click on Enter text patterns and in the specify words or phrases box enter ^*$
Click on the + symbol and click OK
14. Confirm that your rules matches the screenshot and click Save.
15. Highlight the Apply Internal Tag rule you just created, and click on the edit icon
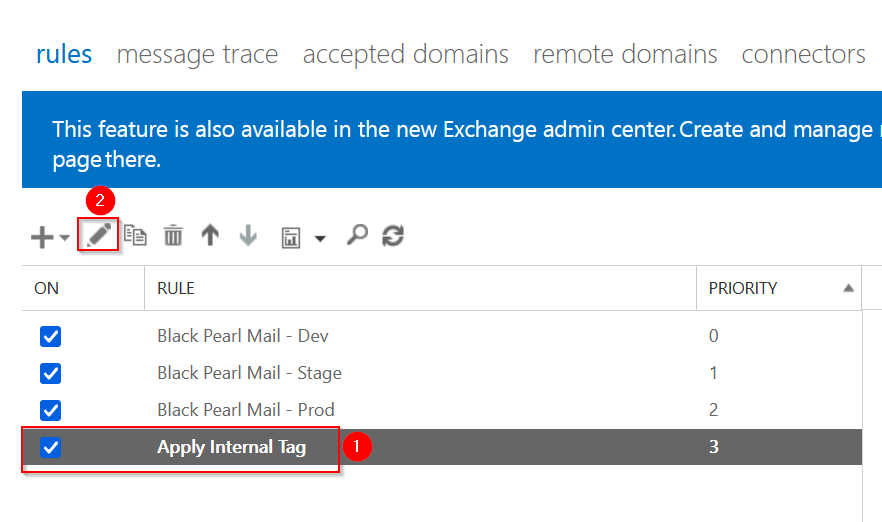
16. Change the priority to 0 and click save.
You can now go ahead and send a test email to an internal user to ensure your specified template is applied. Black Pearl Mail will also remove the [INTERNAL] tag from the email.
If you have any issues, please contact support@blackpearlmail.com for further assistance.
Related Articles
Add your Calendar Booking Link to your Black Pearl Mail Signature
1. Create or edit the template you wish to include your calendar booking on. We recommend creating a duplicate of this template as you will need a separate template for each staff member who has their own calendar links 2. Open the template and ...Disable Branding on Internal Emails for Office 365
What will you need to do? If you would like to turn off branding for all internal emails, then this can be achieved by modifying the existing Black Pearl Mail Office 365 rule to exclude internal emails from routing through Black Pearl Mail. If you ...Branding not applying on forward and reply emails
Black Pearl Mail provides you with the option to use a different template for new emails and forward/reply emails. Also, the placing of the branding with the email also needs to be determined, based on whether it is a new email or a forward/reply ...Email not branding during testing on iPhone
Problem Are you sending test emails from your Black Pearl Mail branded company email to a personal email account on your iPhone or in certain apps, and finding that the emails don't appear to be branded? If so, we can most likely shed some light on ...How to Assign New Email & Reply/Forward Templates
First, log into the Black Pearl Mail App: Logging in Once logged in, navigate to the “Groups” icon in the top navigation bar You will now be presented with the below screen To choose the default template for new and reply emails you simply click on ...